Latest... and then some older stuff, too.

A gift for an old friend... 😎

UntitledCopper, brass, micaApprox 8" x 7"

Untitled

Copper, brass, mica

Approx 8" x 7"


This is another special request that I finished this year. I'm still looking at changes but for now, she's happy with it.  

'Ickthyrus' 

'Ickthyrus' 

Copper, brass, marble, LEDs

Approx 30" x 35" 


IMG_7100.JPG

'Ono Cycle #3' 

Copper, marble

Approx 46" x 16" 


There is a niche to fill... so I made a 'filler'.  

'Reflectometry' Copper, brassApprox 30" x 8"

'Reflectometry' 

Copper, brass

Approx 30" x 8"

and when lit with one of those flameless candles. 😊

IMG_7155.JPG

Just messin' around...

'Milhaus' Copper, seashell, findingsApprox 3.5" 

'Milhaus' 

Copper, seashell, findings

Approx 3.5" 

Unless you're a marine biologist you probably wouldn't know... 

'Venus in Ascension' Acrylic rod and bar stock, brass wire, copper, papier-mâché, poly tube, wire brushes, pebbles, LEDs

'Venus in Ascension' 

Acrylic rod and bar stock, brass wire, copper, papier-mâché, poly tube, wire brushes, pebbles, LEDs

and when she's lit.  

IMG_6257.JPG


FullSizeRender.jpg
FullSizeRender.jpg

Command Performance

My sweetheart says I give away or sell everything and make nothing for her. So... this one's for you, babe.  

Just a sketch to act as a guide. What it evolves into? We'll see.  

Just a sketch to act as a guide. What it evolves into? We'll see.  

I start fabrication by making a loop out of 1/4" steel rod, the kind you might get from Home Depot but this came from McMaster-Carr. Their material gives me good results and the cost is acceptable.  

image.jpg

Using 3/16" rod I start the shell frame with the center ring. Everything else in the shell will key off of this piece.  

The next step is to attach rods to the corners of the center loop.

I could use a MIG welder but I prefer oxy-acetylene because these will be low-strength joints, and gas welding gives me a weld joint that cleans up easily enough. 

But first I have to clamp the pieces into position and that can be the most difficult step of all. With increasing complexity comes increasing difficulty in jigging and clamping. Sometimes I can use super magnets to hold things in position, but not always. At this stag, a bench vise and lab tube holder does just fine.


image.jpg

After I'm happy with the setup I'm hitting it with the torch. No in-process picture but here is the immediate result.  


image.jpg

Hot stuff! And after a little wire brushing and sanding to remove slag and weld splatter... 


image.jpg

I'm happy with this. It almost looks like it grew that way. Only 85 more to go.

Here I've welded another piece onto the center loop and have the sub-assembly temporarily clamped to the frame to gauge the arc and height. .  

Here I've welded another piece onto the center loop and have the sub-assembly temporarily clamped to the frame to gauge the arc and height. .  

And here is the center loop welded in place.  

And here is the center loop welded in place.  

Now the fun really begins. All the connecting and intersecting pieces will go one, one by one.  

A little at a time... 

A little at a time... 

Really starting to take shape, now.  

Really starting to take shape, now.  

One trick is keeping ahead of the corrosion that sets in almost as soon as the weld joints cool.  

And with a few stringers added, the shell frame is almost done.  

And with a few stringers added, the shell frame is almost done.  

All done except for a little post-weld clean-up.  

All done except for a little post-weld clean-up.  

Now, on to the flippers and the head (and tail).  

Ok, so the 'extremities' aren't next. Sue me.  

Ok, so the 'extremities' aren't next. Sue me.  

In order for the body to have some, er, body... there really has to be some depth. So, here's where it gets deep.  

Actually sort of shallow but whatever.  


I must like the extra work, too, because I have to clean up all those weld joints. Good thing I haven't lost my eyesight... yet.  

I must like the extra work, too, because I have to clean up all those weld joints. Good thing I haven't lost my eyesight... yet.  

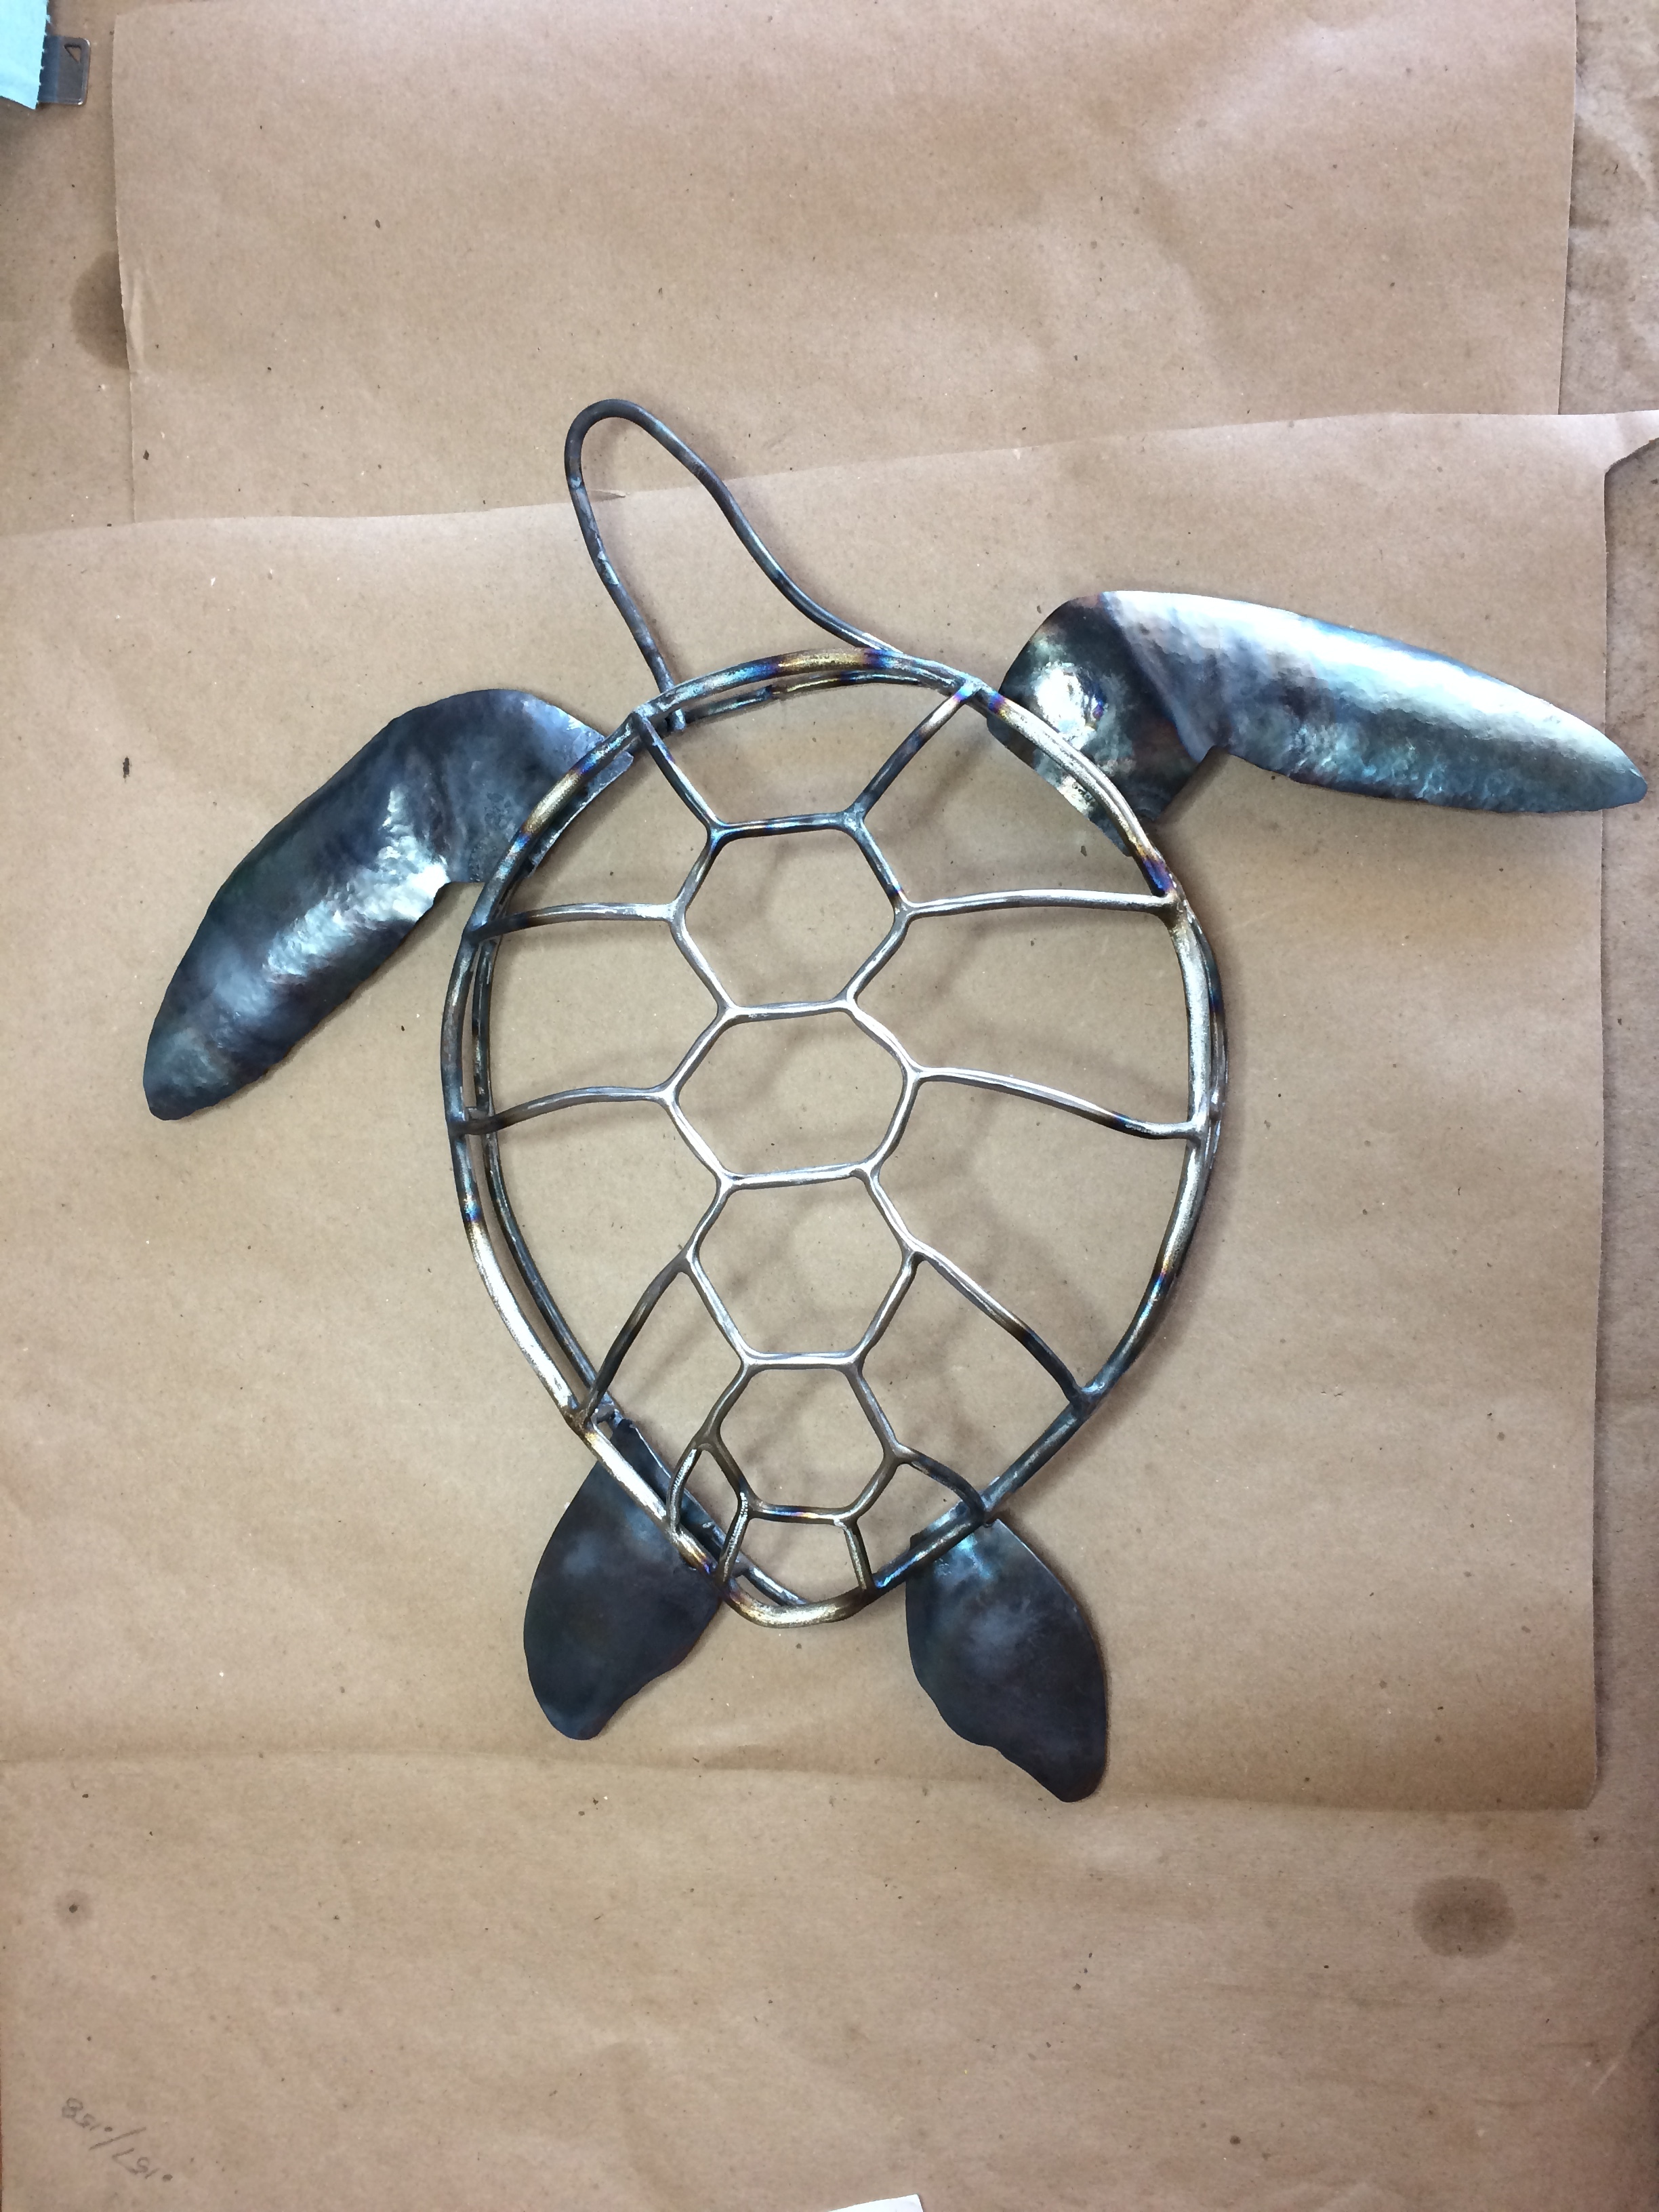
Having already formed the rough outlines for the flippers in mild steel sheet metal, I'm test-fitting them to see if they're balanced. On the way to getting here I experienced a problem with my planishing hammer- the hammer shaft seized inside …

Having already formed the rough outlines for the flippers in mild steel sheet metal, I'm test-fitting them to see if they're balanced. 

On the way to getting here I experienced a problem with my planishing hammer- the hammer shaft seized inside the cylinder and necessitated its complete disassembly. In a way, that actually produced an unexpected benefit in that I was forced to go back to my old method of using a ball pein hammer and an anvil to create the curvature and surface texture. I usually torch the metal afterwards to soften it up and the effect this time was rather interesting to me. It's not only kind of knobby but the coloration is similar to blueing you find on watch hands... and guns. And, as it's an oxide coating it is less prone to corrosion. So, yay me!

Just a close-up of a flipper.  

Just a close-up of a flipper.  

And with all 4 flippers welded in place.  

And with all 4 flippers welded in place.  

First step in getting a little head... attached to the body.  

First step in getting a little head... attached to the body.  

I got a bit ahead of myself and finished the welding, and painted the frame, before taking this photo.  That's what sometimes happens when the spirit moves me.  

I got a bit ahead of myself and finished the welding, and painted the frame, before taking this photo.  

That's what sometimes happens when the spirit moves me. 


And the side view.  

And the side view.  

The next step will be filling in the head.  

Ok, do a lot of time has gone by since the last post. I've been busy with other activities.  Anyway, here she is with the head all filled in and the paint applied.  

Ok, do a lot of time has gone by since the last post. I've been busy with other activities.  

Anyway, here she is with the head all filled in and the paint applied.  

Now it's on to the little segments that will make up the shell.  


FullSizeRender.jpg

Ta-dah! 

i didn't keep up with the in-process  photos, so this is all you get. 😬 

This one... I dunno

Got inspired and took off on an old idea but sort of ran out of gas half way through.  

But this is a commissioned piece, so at least there's money coming in  

But this is a commissioned piece, so at least there's money coming in  

Holey Mola Mola, Batman!

Another day, another fish story.  

image.jpg

So the exercise here is to see what colors I can fish out of the copper. a little more heat here, a little less heat there. In some places I just let it burn right through and the blooms propagated from there. 

The tail was done using metal strips left on top of the copper to act as heat barriers. The exposed areas of course got much hotter and produced the striated effect. Almost like a fish tail, eh? 

Cat Tails

All done, and I think it works, too, though I may never really know. Sort of like trying to prove a negative. I just wanted to break up the view from that house in the background. 

Cat tails with a twist.  When the wind blows these make a soft, metallic sound, as with chimes. 

Cat tails with a twist.  When the wind blows these make a soft, metallic sound, as with chimes. 

New Day, New Project

While pondering how to block the view from the perv who lives a few houses over, and not buy more plants that might just bake to death on the roof deck we came up with a good alternative. Here are the raw materials. Can you guess what they'll become?


image.jpg

Ono Cycle...

So much reflection. Must either dim the light or think of it as a philosophical prospect.  

Anyway, it's a close-up to show more detail around the eye and mouth.  


image.jpg

Ono Cycle

'Oh Yeah!' 

'Oh Yeah!' 

After a few delays I have a completed project on the wall. Not exactly what I had in mind when I began, but exactly what I wanted when I finished. 

New day, new project

Sketch of an ono  from an Internet image, then a working template, then the layout. 

Ono fish

Ono fish

The template

The template

And the layout; copper tubing and wire, silver solder.  

And the layout; copper tubing and wire, silver solder.  

Got a little tail action going on here... 

Got a little tail action going on here... 

Does everyone like shiny objects, or is it only guys? 

Does everyone like shiny objects, or is it only guys? 

School's Out

There guys now live somewhere in Greece!

image.jpg

Three more in the bag. Done and done with these guys.  

Some Videos

Just a quick video to show what it might look like all fired up...


Further Modifications to the Fire Pit

It's not east to tell but I masked off some of the orifices in the fire ring so that the flames wouldn't directly heat the flexible gas line and wouldn't cause an unacceptable updraft beneath the dragon's head. Though the two lines are independently valved I can turn up the pressure to the head only so much in an effort to keep the darned thing lit.

If you're observant you'll have noticed that the surface finish is beginning to show the effects of exposure to the elements, even though there is cover directly overhead. We are, after all, only a mile from the ocean. So this raises another problem to overcome... I don't particularly like the rusted look.

First Run with Lava Rock

After getting the vertical adjustment dialed in I loaded about 6 bags of lava rock onto the grill, put some thin sheet metal around the perimeter and fired it up. Seemed to work without too much trouble but the flames did not look quite as I expected them to.

So I waited until sunset and then fired up the nostrils. Looks a bit more intimidating, don't you think? But still, I'm not happy with the base flames. Burn efficiency is too good. Plus, I found that the flexible gas line that runs inside to the head was actually getting cooked by the fire ring flames! Not a good thing.

Another look in the daylight. Too hard to see the flames but you can feel the heat!

Temporary Fire Pit Arrangement

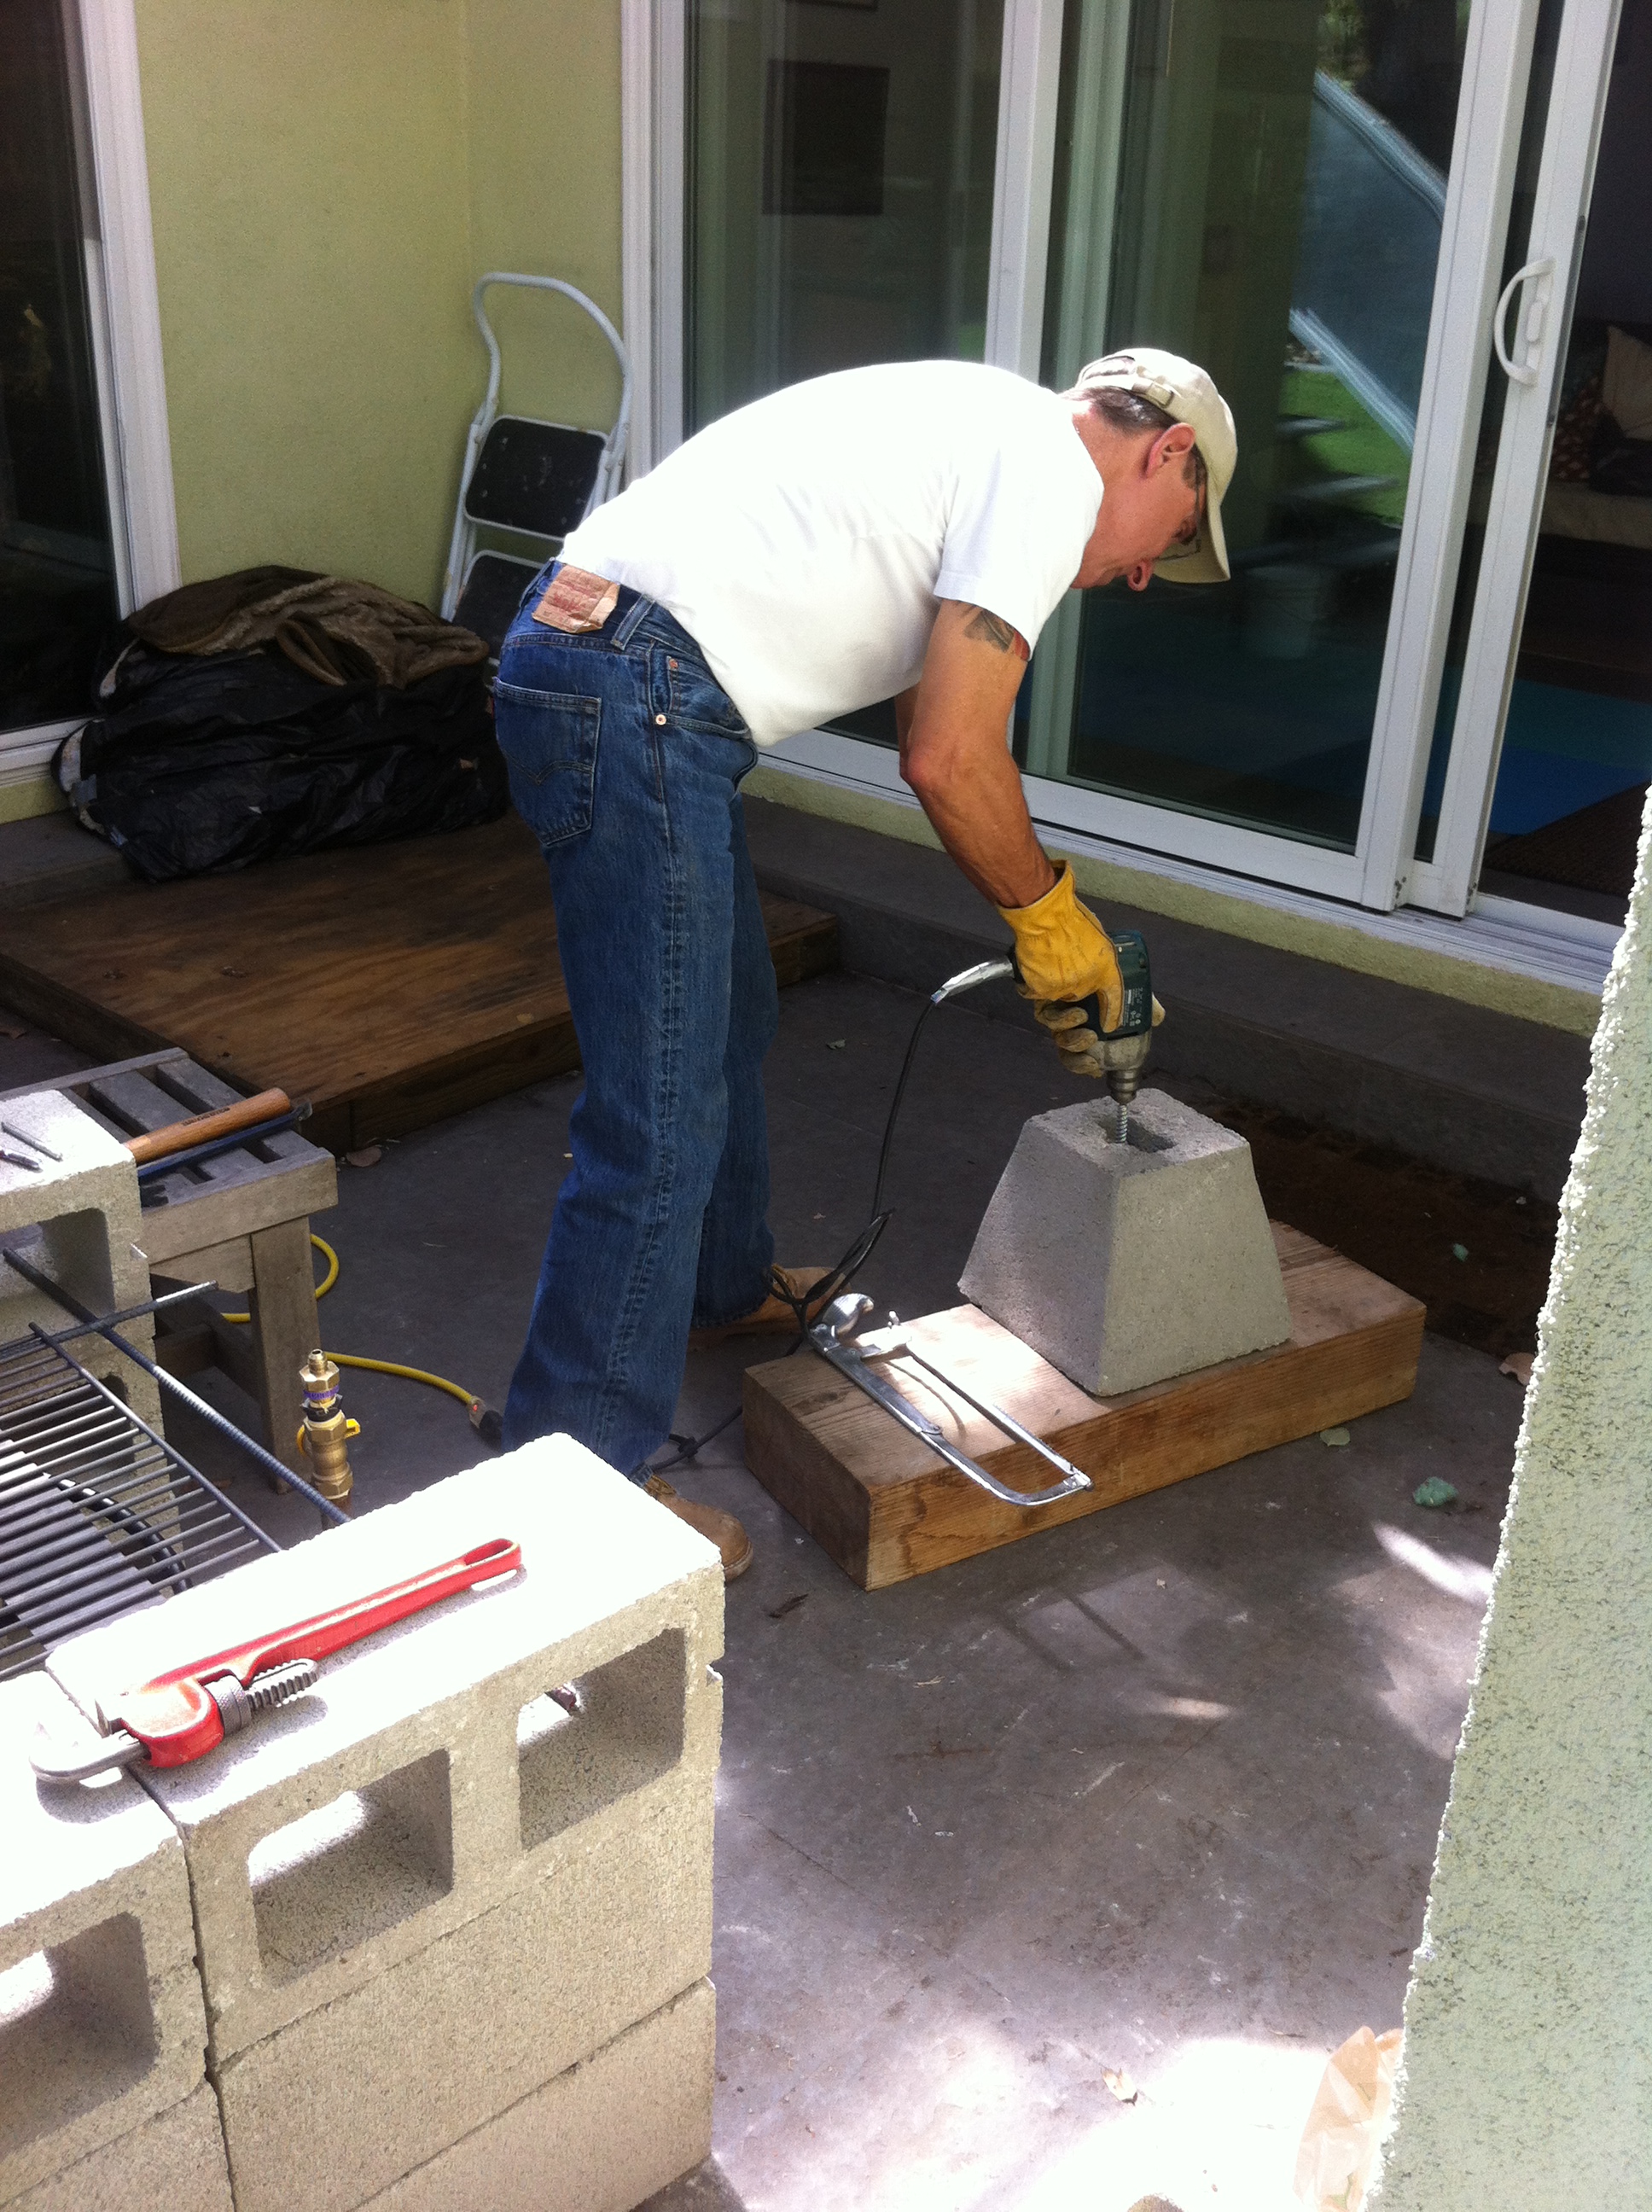
A bit tricky finding a base that would fit inside the fire pit and still be heavy enough to counter-balance the weight of the dragon. Luckily, someone makes these nice concrete bases that need only a little boring out to suit.

2014-03-09 12.37.07.jpg

First attempt to get the orientation right. The mounting rod (part of the spine) is only so long so I had to try several 'shims' to adjust the vertical position so I could minimize the number of gas connectors and keep the burner ring close to the bottom of the grill.

Now We're Cookin'...

Dawn's early light? Nah, that's been taken. 

Basically stuck her on a heavy piece of wood and hooked up the gas line. Kind of a proof-of-concept for routing and orientation. And to check for loose fittings. Still have to work out the finishing touch for the tail, which has proven to be problematic.

Fire Pit Dragon

Steel, Stainless Chain Mesh;

Plumbed for Natural Gas

 ~4’ Wing Span

A fire pit project inspired by an acquaintance’s street lamp and by the Balrog in The Lord of the Rings trilogy. When completed, this will be mounted in a pit of lava rock with a ring of fire at the base and flames spouting from the dragon’s nostrils. 

Not yet finished but close...

Not yet finished but close...

So how did we get here? Well, it's a long story...


I should've taken many pictures before this stage but I was more interested in doing the art than in documenting it. Anyway, here is the basic skeleton, minus the head, with a copper pipe as a gas line.

 
DSCN8211.JPG

My original concept had fire coming out of the body at various places. Using steel mesh would allow the flame to propagate outward. In this image I had a temporary skin on the head to give me some ideas about form. I was thinking something between a monitor lizard and an alligator.


I just had to use the googly eyeballs! But as it turns out, they make it look too cute.


So-o-o-o, off with her head! I stripped off the old aluminum tape and using the original frame I welded sheet metal strips to form a better and certainly heavier skull. Not as serpentine but it began to take shape.


As you might have observed, the configuration changed several times during the build. Head on, head off… skin on, skin off. Much more of this was to occur throughout. Some of it was necessary and some was unexpected. This being the first large scale functional sculpture, I had much to learn and discover.


Lost her head again! Too much banging away caused the weld at the neck to fail. Good thing it happened now instead of later. But now she has real eye, plus a certain mobility for what is to come next.

 
2013-10-27 12.16.52.jpg

Started adding the 'headdress' using steel plate. Kind of tricky welding thick and thin metal flat stock. Easy to burn through the thin stuff while trying to heat the thicker material enough to get a weld puddle.

 
2013-11-16 16.42.41.jpg

Here we are with the headdress completed, and a example of a happy accident: welding rod for low carbon steel looks just like copper wire or rod. I inadvertently grabbed some copper wire thinking it was welding rod and tried welding one of the last plates to the head. When it cooled it turned a coppery color which is not what you'd expect from steel welding rod. Though not structurally suitable, cosmetically is kicks ass! Oh, and the skin texture? I torched the metal until it just began to melt and then kept moving.


A little nasal decongestant...

 
2013-11-17 10.22.33.jpg

Having abandoned the idea of steel mesh on the body I forged ahead using sheet metal for scales. The reasoning? Having started the project using steel rod as the spine and ribs and such, it became clear that engineering a system of piping to direct the gas to points on the mesh skin would be problematic. There is just too little space inside to make it work. Plus, the vertical orientation of the dragon would've caused the gas to travel upwards and essentially engulf the head in fire. As much fun as that sounds, it wasn't exactly what I envisioned.


The trick to creating roundish legs is to think outside the conventions of living things. I wasn't about to make tiny little scales or feathers to make legs that looked either reptilian or avian. Since no one has seen a real live dragon in, oh… a while, why couldn't the legs look like this???


As daunting a task as it was, the more the scales the better the look. And if you're wondering why I started where I did (I wondered that myself) it's because the had to figure out the egress for the gas line. The flexible pipe I decided on has to fit inside the body, so I could go down in diameter only so far before I ran out of wiggle room. My plan is to build the rest of the tail separately, route the gas line into the support box/fire pit and then attach the tail to make it look like it's been there all along. If this wasn't an active sculpture it wouldn't have mattered and I would've started at the tail-end and worked my way forward. 


More fun with sheet metal. I think it would be easier to make a real animal! Wait… dragons aren't real?!?!


So, I'm closing in on a complete body of scales. You'll notice the wings aren't there. They kept scraping into my welding helmet so I cut em off. That would facilitate their construction anyway. Note the stub on the 'shoulder'. There's one on the other side, too. Also, there's a hump on the back of the neck. I needed that to allow me to hang it up from the rafters without damaging anything. Still not sure what I'm going to do about it later.


Totally gratuitous selfie… nothing more.


One wing under construction… constructed an anti-rotation device so the orientation is fixed; built up the 'bicep' area and faired it into the forearm section. You can see the other wing down there on the workbench. Being able to install and then remove them was really a good idea.


Purchased some stainless mesh on-line from Whiting & Davis. Here I have it laid over the wings to see how well it drapes.


Here I've used nickel wire to attach the mesh to the wing skeleton. Yeah, this was fun.


Afixing the mesh to the skeleton wasn't so bad once I figured out a procedure. But it also has to attach to the skin of the arms. That proved to be another challenge since I didn't want there to be any external signs of fasteners or attachments.


I ended up drilling holes and snaking wire through from one to another and then weaving it into the mesh. The finished result looks better than this.


I want the leading edge of the wing to be streamlined so I crafted a scaly look using a strip of sheet metal and working the hell out of it. The following pictures show some of the process.


Lay-out...


Yeah, I got a little snippy! So what?


My daily grind(er)...

 
2014-01-12 12.39.50.jpg

Here I'm using an old angle bracket on top of my vise to begin shaping the sheet metal. You'll see in the next picture...

 
2014-01-12 12.44.20.jpg

Using a drill blank I just tamp it against the sheet until the crease forms. At a certain point I can complete the bend either by hand or with pliers. This approach helps to ensure a fairly straight centerline.


With the metal all formed it's only a matter of laying it onto the leading edge of the wing and crimping it down on both sides. The nice thing about work-hardening the metal is that once you get it into the desired shape, it tends to stay put. The only thing left for the wing after this step is to trim away the excess mesh. I started using a wire cutter but that felt ridiculous after about 10 minutes. Then I whipped out the torch and burned it off!


Left side pretty much completed.


And here she is with both wings complete and attached. Now, on to the gas plumbing and the mounting.